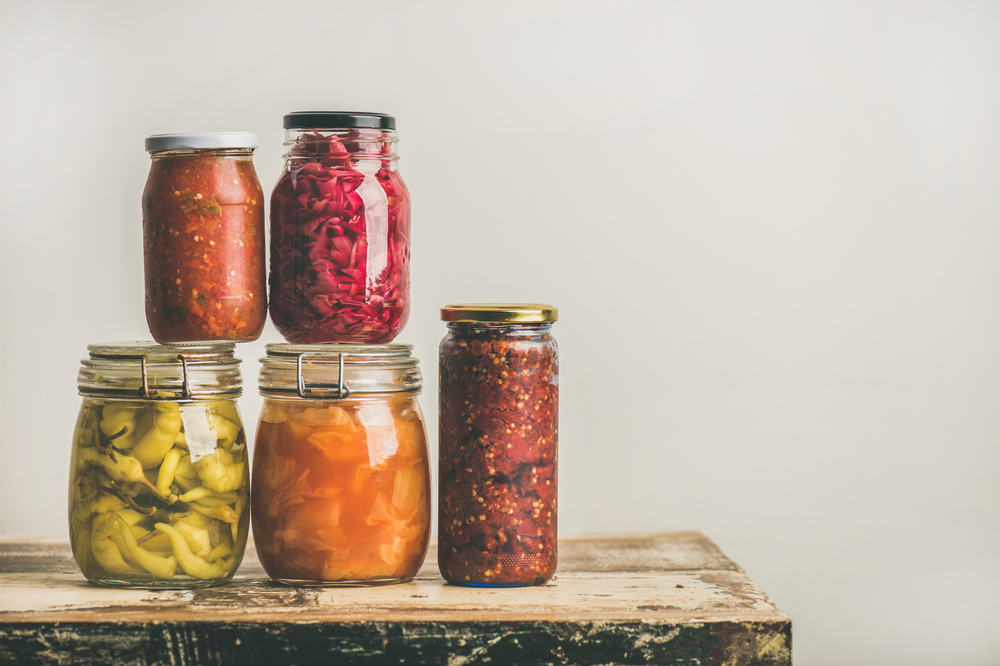
14 Dec 4 Simple Ways to Quick Pickling
With summer upon us and the festive season just around the corner, it’s time to make sure that your salad-making game is strong. Fortunately, there are so many exciting seasonal ingredients to pick up from your local farmer’s market or grocery store, that it’s hard not to get creative. But if you want to add some extra creative flair to the mix, there’s nothing like a delicious pickled treat or two to spruce things up. And if you really want to impress? Sourcing those pickles from your very own, homespun pantry.
Yes! DIY quick pickling is possible and far easier than you might think. Before we get into the tips and tricks, however, let’s just cover the ‘what’ and ‘why’ of pickling.
WHAT IS QUICK PICKLING?
As the name suggests, quick pickling is an easy and uncomplicated process that basically involves submerging vegetables in a solution of vinegar, water and salt and storing it in the fridge. Unlike their slightly more complex fermented counterparts, you can enjoy quick pickles within a few days of
refrigeration.
WHY PICKLE?
Well, there could really be any number of reasons why you’d choose to pickle your veggies – for many people, that delicious tangy taste is reason enough already. In more practical terms, however, it’s an excellent way of preserving your favourite seasonal produce while retaining most of their nutritional value, reduces food waste and helps you keep meals interesting year-round.
So, let’s take a look at our four quick pickling tips and an easy recipe to try:
1. THE FRESHER THE VEG, THE BETTER THE PICKLE:
One of the most important things about creating successful pickles, is to use only the freshest, most beautiful specimens from your veggie rack. I
mean, could there be anything worse than sinking your teeth into a bruised dill cucumber when you expected a delectable crunch? So, make sure to employ a rigorous vegetable selection process.
2. BLEND YOUR BEST BRINE
The trickiest part of making your own quick pickles, will probably be getting the brine just right. It may even take a few tries before you get it perfectly to your liking.
If you want to start with a basic guideline, however, it would be wise to start with equal measures of water and vinegar, adding a tablespoon each of pickling salt and sugar. In order to dissolve the latter, you will have to heat the liquid on the stove – but do not bring to the boil. Before pouring the
liquid over your veggies of choice waiting in their pickle jars, just give it a little taste to make sure something’s not way off or overpowering.
3. PLAY WITH SPICES
While you may want to keep things simple with your first attempt at pickling by only using brine, once you’ve gained some confidence you may want to start playing with adding spices to the mix. The spices you choose to use will obviously depend greatly on the vegetable you’re pickling. For instance, cinnamon will complement carrots or pumpkin perfectly, but may not work so well with cucumbers. Instead, you may try adding some ginger and turmeric to your dill cucumbers instead. Once again, it’s really up to what you find tasty and there’s nothing wrong with experimenting until you find something that really works. In fact, it’s encouraged.
4. KEEP AN EYE OUT FOR BUBBLES
So, quick pickling is pretty much a fool-proof way of preserving your veggies deliciously and nutritiously. However, they do not last forever and, since there’s no expiry date to work with, you should keep a close eye on any changes that may occur during their sojourn in the fridge. As soon as you see bubbles appearing when you open the jar, you’ve delayed a little long and it’s time to send them to the compost heap or bokashi bin.
QUICK & EASY PICKLED BEETS:
We all love beetroot, right? Well, here’s a quick and easy recipe from Pinch and Swirl to ensure you never run out!
INGREDIENTS:
- 1kg of beets
- Olive oil for drizzling
- ½ Cup apple cider vinegar
- ½ Cup water
- 2 – 4 tablespoons of honey or date syrup (vegan option)
- Salt and pepper
PREPPING THE BEETS:
In order to get the beets ready for pickling, you will be baking them first. This will ensure that they remain nice and firm, yet tender.
- Preheat oven to 190
- Place washed beets in a deep baking dish with a lid in a single layer and drizzle olive oil over.
- Bake for 60 – 90 minutes.
- Let aside to cool down and once cool, peel the baked beets and slice.
- Place them into your canning jar/s.
PREPPING THE BRINE:
Because you’re using honey and no sugar or salt, you won’t need to heat up the pickling liquid as there won’t be any granules to dissolve.
- So, all you will have to do is whisk the water, ACV and honey together and pour into your pickling jars.
- Refrigerate for several hours or overnight before eating – the longer you wait, the stronger the beets will taste.
- Eat within three weeks.
What are your favourite pickling recipes? Please share them with us!


Laurian
Posted at 13:13h, 11 JanuaryDo you sell Water Kefir granules?
Kerry Haarhoff
Posted at 09:07h, 15 JanuaryHi Laurain, yes we do sell Water Kefir grains – you can find a starter kit here: https://www.faithful-to-nature.co.za/water-kefir-starter-kit